Friday, December 13, 2013

Sorry - I Had to Paint!

Metro East
The energy in this amazing city really influences me. I'm just glad I don't have to drive here!
Living on The Edge
I'm still working out the titles - have to live with them a while yet. Below is a new start with the next stage beside it. Much more still to come.

    Process painting, that's what I do. Sometimes I'll document my process and put it on my painting blog (www.vickieturnerart.blogspot.com) 
simply because I love to watch the process of other artists.
I'll continue the process on the other blog.

Next week, back to polymer clay

Monday, October 28, 2013

The Creative Well


Sometimes we get out of the habit of making stuff, and it's easy to think the well has gone dry - I have nothing more to offer creatively - who do I think I am anyway, an artist? Hah!

The Creative Well is a very special place. It never runs dry. Every time we look at something or smell something or touch something or hear something we are adding to the Creative Well. It's usually not something monumental and it's frequently without deliberate intent, but just as drops of water can erode rock, so drops of observations can fill that well. We just need to dip in.

So, when the blank page or canvas stares back, mockingly, haul out your "stuff". Go outside your comfort zone, grab a surface you don't usually work on, do something to it - anything - hammer nails into it, throw (carefully) bleach at it, use a tool you've tucked in a forgotten corner of your stowage, and, once you've done something, scatter your "stuff" around on the surface. Before long your right brain wants to play on the new, unfamiliar surface with old, familiar "stuff" and it starts arranging, manipulating, CREATING.


Thursday, October 10, 2013

The Sand Sweeper - Completed

The Sand Sweeper, version #1
The Sand Sweeper, version #2
As an abstract artist, one thing I sometimes struggle with is getting too literal. This unfolding saga has exacerbated this problem, especially if I name a piece before it is completed. I then agonize over making the piece fit the title. With this one I had partially built the vessel and hung a "tassel" from the keel, including the "brush" and the quartz crystal, and this had led to the name.


Now, how to complete it! I got stuck until I got frustrated and angry (ok, I got mad!!) and that's when I'm able to throw caution to the wind and just play "what if?"

I find I tend to set problems for myself, simply because I get a lot of satisfaction from solving problems. In this piece I had created a very strong asymmetry. With jewelry one has to establish not just visual balance but also physical balance - you don't want this thing swinging around as you walk and hanging on an angle, especially since I had restrained the asymmetry with very symmetrical links going up to the neck. The kinetic (yes, it spins) polymer clay "wheel" sitting at the stern of the vessel increased the "weight" on the left side, but continued the visual line up from the tassel, so it "felt" good there. 


I needed considerable physical weight to balance the right, also I needed something relatively dark and not too small to balance the visual weight. I chose a large fossilized shark's tooth, discovered on a beach in Ponte Vedra, Florida, during one of many times my family exiled me to the beach to dispel my depressive episodes (I have over 6,000 shark's teeth! Maybe that says a lot about my state of mind at that time! See, I need the beach - it keeps me sane!)


The effect was that of an anchor, but it created a problem - it visually takes your eye down rather than up to the face, and that's not good in jewelry.

Furthermore, the piece hung too low for such a relatively large focal point, so I enlisted the eye of a fellow artist (my younger daughter - I knew all the difficulties of raising children would pay off someday!) and the decision was made that the piece had to hang higher, which meant the two mokume gane beads had to go. 


The shark's tooth "anchor" was exchanged for a heavy, dark glass bead bracketed by two heavy copper endcaps to bring the eye up on the right.


The three white seaworm casings  with swarovski crystals at the tips are very kinetic and also move along the black wire, creating a strong, light focal area as well as eye-catching movement. They also add a feeling of fragility to an otherwise substantial piece.


Detailed images follow:


Saturday, October 5, 2013

Gamla : The Saga Continues

Back home, house is listed for sale, you could definitely say my trip to the beach was eventful! We're moving - to the ocean. I guess you can only keep a Norwegian away from salt water, seaweed, wind, sand and smoked mackerel for so long before she starts to shrivel and become nasty!!! So, the excellent adventure continues. It probably explains the sea-related sagas that have taken up room and board in my head.

The Troll from the Tre Bukkene Bruse Book Bracelet 


thatch-roofed house

the complete bracelet with the oldest Billy Goat Gruff

The bridge under which the troll lives

the book


More characters have appeared and I'll introduce them as they develop.

Gamla (The Olden One): More feared than the Krakken, more terrifying than Surt, the Fire Giant, Gamla sits in her rocking chair, wizened and shrunken. A mountain of pillows add nothing to her diminutive size and the heavy blankets do little to keep the cold from chilling her bones. No one is sure of just how deep her knowledge of the olden ways goes, or of how far reaching her inner sight. None call her kin, yet none dare to send her away.

Gamla stretched out a gnarled hand, gripping my arm with surprising strength. Her skin like thin parchment stretched over a bony frame with veins dancing beneath the surface like swollen worms pulsing with life. Her years stretched thin: her body a frail 4 stone, her will - iron! Fierce determination gleamed in her eye. She had lost none of her passion. "You must tell the story, Anne-Brit!" she rasped. "It cannot end with me, for then there will be no escaping the fjaerning! " Gamla coughed and wiped some spittle from her lip, "Someone must keep watching" she hissed. "Call The Gatherer." Closing her eyes she seemed to shrink into the blankets, dismissing Anne-Brit with a deep sigh.

Liv tugged urgently at her mother's skirt. Anne-Brit was white as the lace on her blouse. "Mama, what was she talking about?" she asked, fearful as much for the look on her mother's face as for the words she had just heard. "I don't know, child...... I don't know." Her mother's voice was low. "Is she a troll?" Liv's words drew a quick glance from her mother. "Don't be rude, child." she admonished. Liv couldn't stop, "But she looks just like a troll with that one big eye glaring at me like that," she muttered.

to be continued.......

Tuesday, September 24, 2013

6 Days and counting!

I'm on  the road - one last meeting with the Sand Sweeper, then home and on the brink of another adventure. There is a need at the beach - more is unfolding than was anticipated and an awakening stirs urgently below the surface. I'm writing with tiny keys on a mobile device (does anyone have fingers that fit these things???????? Mine cover 5 keys at once, and each key has several possibilities...) Uffdah! My sincere apologies for the delay. 6 days and I will explain everything. I really appreciate your patience and your interest. I will do my best to make the wait worthwhile. A bientot!

Thursday, June 6, 2013

I'll Be Back - In The Fall

Summer is here and lots of company coming and activities planned. Jazz Festival is near the top of my list, as is pushing paint around. Hope y'all have a fabulous, creative summer. See you in September.

Wednesday, May 29, 2013

The Sand Sweeper

As is so often the case these days, I'm obsessed. This time it's The Sand Sweeper. Perhaps it's this time in my life that has me dreaming and imagining - no, I guess I've been doing that since the day I could put together two coherent thoughts. The storyteller has been awakened. The one who thought she could only say it visually, through her paintings, is now streaming words. These vignettes seem to end in cliff-hanging anticipation and I realize, finally, that it is because they are related. They are all fragments of a larger picture, an epic Edda/Rune/Skald that has been percolating for quite a while. I look forward to each segment revealing itself, and then, to the angst of bringing them all together.

Here is the beginning of the next character - The Sand Sweeper:

The Sand Sweeper walks the beach in the grey of the early morning, as the spray from the roiling surf shrouds the driftwood in glittering capes of moisture. She studies the sand, looking for disturbances in the patterns traced by the sea nymphs. These she sweeps urgently back into the relentless waves, doing her part to ensure that the balance between sea and land is maintained, that Gjettling won't be disturbed.

"I saw her this morning, Mama!"
"Who did you see, child?"
"The Sand Sweeper! I saw her but she didn't know I was watching."
"How do you know she didn't see you, child?"
"Because she was making strange motions with her hands and singing and then she started sweeping very hard". Liv's voice dropped to a whisper, "and, besides, I was hiding" she breathed. Mama smiled, "Maybe your were dreaming. The sunsprites often play games with young children in the afternoon, when the gentle breeze helps lull then to sleep."
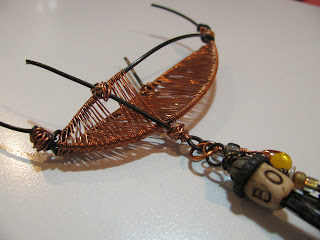
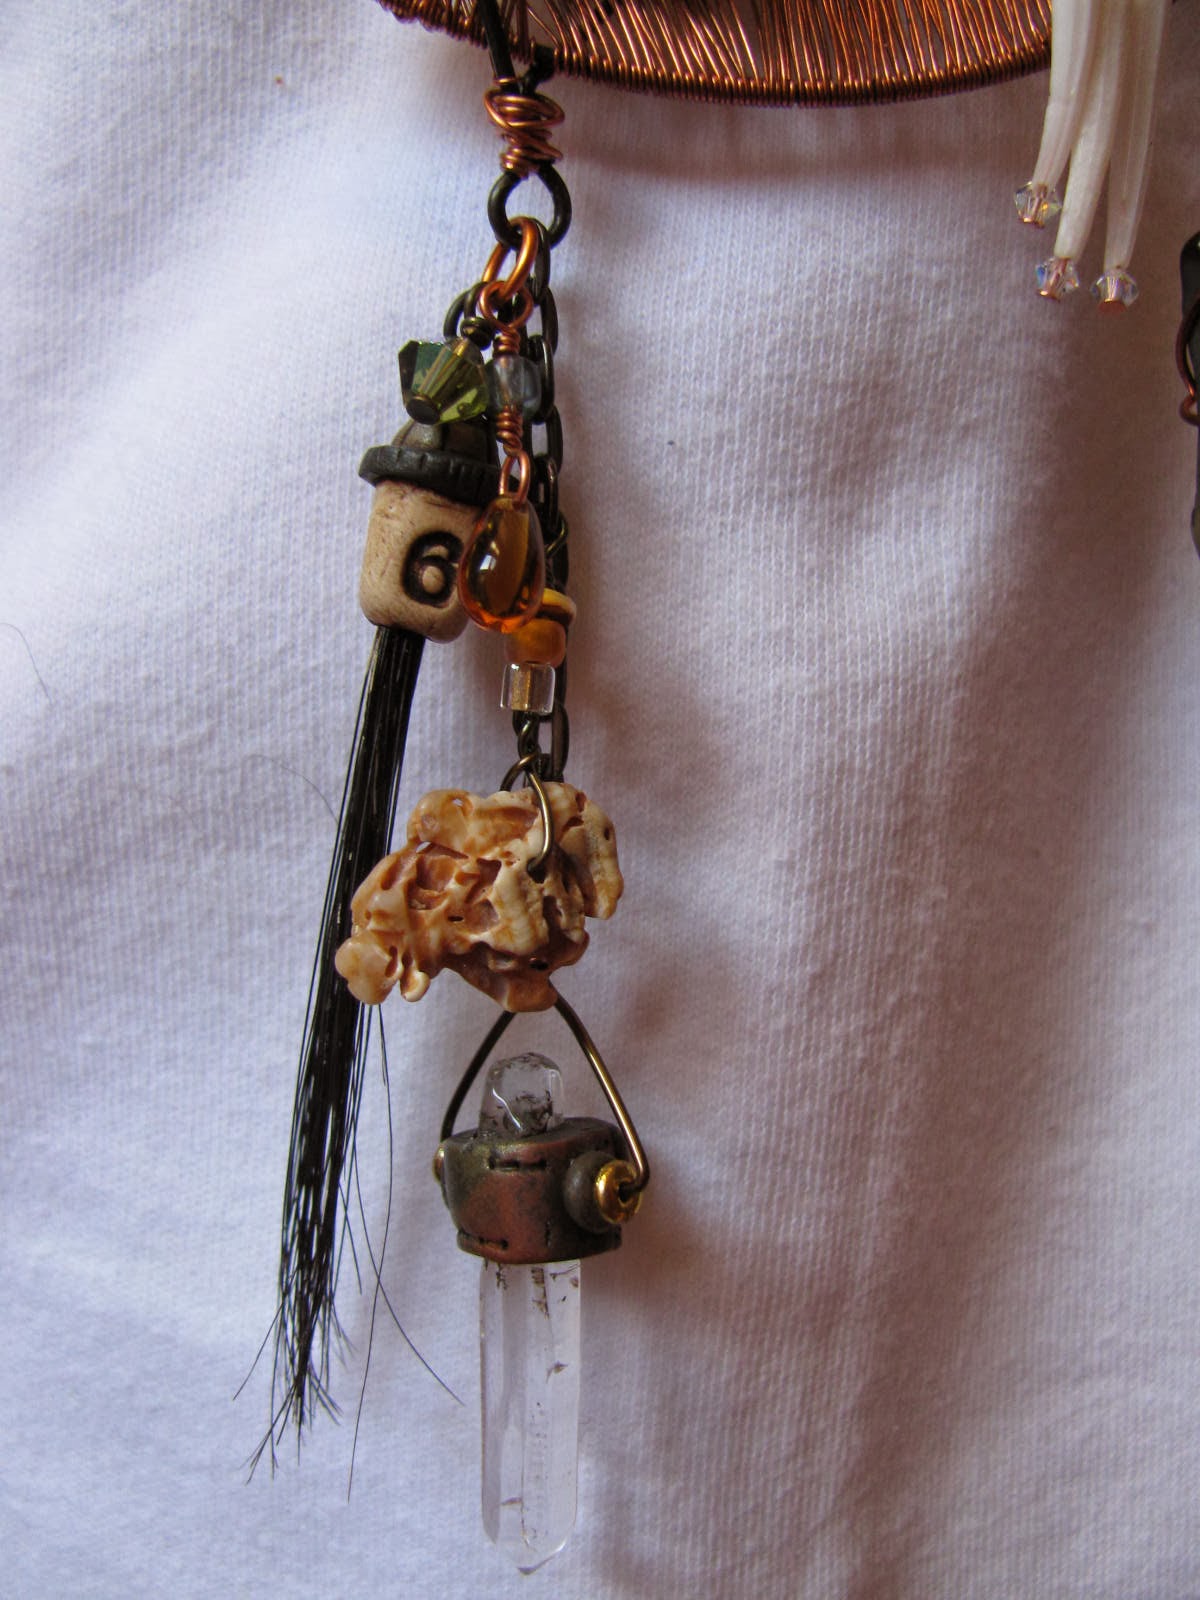
"No Mama, it was real! I know it was her! She looked just the way you told me when you read me the poems from the Northern Skalds. She was tall with long, silver hair. Wisps of foam clung to the strands and crystals were twined in between, crystals that made song!"
Her mother turned sharply towards Liv, "what do you mean: the crystals made song?"
Startled, Liv looked at her mother, "I don't know how to explain it, Mama. There was a beautiful sound in my head and I knew it came from the crystals and I knew the melody and I knew the words and I was singing the song - I just knew it...... somehow."
Anne-Brit's breath caught in her throat. "She saw you," she whispered. "She knew you were watching!"
Grabbing her daughter's arms and pulling her close, Anne-Brit demanded, "This is important, Liv. Tell me everything you remember."
Liv's beautiful, hazel eyes grew large with fear as she looked at her mother..........
Unfinished

Tuesday, May 28, 2013

Burlesque Blend Workshop Finale

Carole, Ellen, Evelynn, Gaby, Bunny, Lynda and Georgia
Such a great workshop to finish up with in Montreal! An enthusiastic, youthful and obedient class - what more could an instructor ask? They responded to my encouragement and gentle prodding (ok, they responded to the lashings and browbeatings) and turned out some beautiful pieces.


We worked hard and had a ball:
Nicole's fabulous studio added to the creative "ambiance"


Georgia concentrating


Tuesday, May 7, 2013

Burlesque Blend - More Color Variations

In preparation for the final workshop this coming weekend, here are a few more color variations. These are less dramatic, but very elegant. When exploring a particular technique, keeping certain design elements similar, really helps you to see the impact of the elements that you are experimenting with. In this case, the shape of the bead and the shape of the "path" are similar and this makes it easier to concentrate on color.


Friday, April 12, 2013

Pretty in Pink


More Burlesque Blend pieces as I prepare to teach these upcoming workshops (yes, I'm anal-retentive, obsessive-compulsive!) The interesting thing about this particular colour combination is how beautiful it looks on all types of skin. Pasty-white or deeply-tanned, this just glows.

The design in this piece works well for me. The asymmetry of the pattern in the focal piece keeps the necklace from becoming boringly symmetrical; the large amount of pink in the two pieces flanking either side of the focal element draw the eye away from the middle and up towards the face; the next two flanking pieces, with the diagonal patterning moving diagonally down and out stop the eye from leaving and pulls it back to the central elements.

The finishing details often get neglected because one gets so focused on the clay technique. In this case, although the pink is very cool, suggesting silver would be a good accompaniment, the metallic sparkle in the 3 central pieces is more muted and casts a bit of a gold tint, which knocks back the colour intensity in the polymer and also allows me to choose spacer crystals that are metallic gold-tone with a hint of pink interference. These crystals are flanked on each side by an oblong, faceted black crystal and this combination really enhances the sparkling feel of this piece.


To finish off the necklace, round black agates are used instead of crystals, keeping the focus in the main polymer area and providing a very comfortable feel on the neck. Notice, though, that it is not just a bland, monotonous strand of beads. These agates are broken up periodically with a pink/gold interference tube seed bead, again adding interest, but not detracting from the main attraction.


I'm working out more colour combinations for variety for the students. It's not logistically feasible to structure a workshop so every student can choose every element, but colour is very personal, and where possible, I like to provide that choice while maintaining limits on size, shape, pattern, etc., as seen here:

Wednesday, April 10, 2013

Studio Tip #5: Slicing a Round Log

I'm up to my eyeballs preparing for the upcoming workshops that I'll be teaching over the next 4 weeks! In the meantime, here's a short video to show you how I slice round canes/logs, keeping them from flattening out on the bottoms or from squishing them. If your clay is very soft, let it sit for about 20 minutes before you slice (I must admit, I never have that amount of patience!) Polymer clay is "thixotropic". That means, like yogurt and acrylic paint, when you work it it becomes thinner, but when it then sits for a while, it firms up again (to varying degrees). Sorry about the music - I always have it on in the studio and consciously don't notice - it's that much a part of my creative process, lol.


Friday, April 5, 2013

Polymer Clay 101 - Chapter 1: Think Wax!

I have decided to post a series of basic information in addition to my regular posts.

This is the beginning of a monthly (hopefully!) series of posts that are intended to give you my experience with polymer clay and my observations of this unusual medium, from the bottom up. I would like to help new clayers to understand the medium, to become familiar with its quirks, so they can concentrate on creating, not getting bogged down because of "failures" due to technical problems. I'm a firm believer in there being no mistakes in creative endeavors, but it's heartbreaking and frustrating to have your efforts end up broken, burnt, or otherwise useless. This is meant solely to offer my lessons learned, observations made and conclusions drawn during my 24 years' progress as a polymer clay artist.

1: I don't think of polymer clay as "clay". It does not act like earthen clay at all. I have come to think of it in terms of "wax" as it behaves similarly to wax, and this reminder helps me when I'm working absentmindedly and not getting the results I would like. Wax softens with heat. So does polymer clay. I often pack the clay into my clothing before starting a day in the studio, and this warms up the clay safely. That does not mean warming up the clay results in "conditioned" clay - it just helps with the conditioning process. The clay still needs to be thoroughly mixed to redistribute component chemicals and yield a good, strong, final product.

Earthen clay takes an impression quite easily. Wax does not, neither does polymer clay, especially if it is not warm, soft and pliable, so there are several things you can do to help it warm up. Friction transfers kinetic energy to the clay, thus warming it a bit as you roll vigorously across the surface with your acrylic rod. Putting hard pressure does not do much to help. Think of putting pressure on a wax candle - see? Warming up your instruments (pasta machine, tile or glass work surface, etc. will help, mainly because these items tend to be cooler to the touch and suck the heat out of the clay as you work on it! So warming these up with a hairdryer (or a heating pad) before you start working, really helps.

Speed also impacts on the results. Unless your polymer clay is very warm, soft and pliable, you need to affect it slowly in order to achieve good results. For example, the images below show fairly softened clay run through the pasta machine rolling slowly (#1 - on the left) vs rolling quickly (#2 - on the right):
please click on image for larger picture
These pieces were conditioned, the same size, rolled on the same setting on the same pasta machine, using the same rubber stamp. The difference is due to the speed of rolling. Rolling slowly allows the clay to "yield" to the pressure and conform to the stamp shapes whereas rolling quickly causes a wave of clay to move ahead and the impressions are not as deep and are quite distorted.

Thinking of polymer clay as similar to wax helps to understand other things that happen. For example, translucent clay has a property known as plaquing - forming small, flat, roundish discs below the surface when baked. This is a wonderful quality when you want to mimic jade or some other stones, however, it can be a nuisance when you don't want it. The reasons for this occurrence are not fully understood, although some feel it may be moisture from your hands that contributes to it happening. In watching what happens when I run translucent clay through the pasta machine, it became evident that rolling too quickly tended to trap minute amounts of air in the clay, which looked like small, whitish striations barely visible below the surface. Rolling slowly, this did not happen. I feel that this is another situation where rolling quickly doesn't allow the clay to conform to surface differences, whereas rolling slowly does, and it gives the clay time to fill in depressions and air does not get trapped. This seems to be particularly important in translucent clay which, for some reason, seems more waxy than pigmented clay.

'nuff said! Please feel free to leave feedback.

Thursday, March 28, 2013

Mokume Gane - My Way: The Burlesque Blend

Spring is finally here, and, along with spring rains comes a packed spring teaching schedule! I'm home now for a couple of weeks, then off to Florida and after that, a final workshop to be given back here, in Montreal.   I'm focused on teaching the Burlesque Blend this year, so, for now, the rustic, gritty, organic stuff will have to take a back burner. I find it interesting to see the effect that teaching has on my creativity - it squelches it totally!!! I get so left brain that my family refer to me as "Sheldon". For those of you who watch The Big Bang Theory, you'll get the point. It becomes all about the chemistry, the physics, the engineering, even the mathematics (even Sandra is working out the math of her latest effort!) of the project. For me, it's important that students not only understand the "how" but also the "why" of a particular aspect of the technique. I've always felt that an artist who understands his medium is in the best possible position to explore and take risks, and therefore is more likely to make new discoveries. Putting all this information into digestible form is time-consuming and laborious, but I started out as a "lab rat" and I love it there!
I've come to realize that there are many new artists coming to polymer clay who don't have a solid background in the medium or in the basics of working with the medium. I would like to do a Polymer Clay 101 post, once a month, with progressive technical as well as technique information. Some of it you will undoubtedly already be familiar with, but there may be little tidbits that will help you with a niggling problem.

For example, I was asked to look at a bracelet that had broken after wearing. The artist asked if I had any idea what the problem was. She had not reinforced the bracelet with wire, but stated that she thought maybe the problem was that she had used an inferior clay, Premo. After picking my jaw up off the table, I told her that Premo is a high-quality, artist-grade polymer clay and not likely the cause of her problem. Ultimately it turned out the problem was not knowing what time or what temperature was needed to cure Premo properly. The result of too low a temperature and a very short cure cycle led to the breakage.

If you think this kind of monthly post would be of benefit, please leave a comment and let me know. If there are specific questions you have that you would like to see addressed in this post, please let me know. I'll be glad to do my best to deal with it.

Tuesday, March 5, 2013

Rustic Relics

Please click on the pictures for larger images
Yin and Yang, contrast - it is as vital in approach as it is in design. We've talked about taking a class - controlled, anticipated outcome. Now we'll talk about the contrast: the "fly by the seat of your pants, breathlessly, fearlessly, giddy with fear and expectation of what lies over the next rise" kind of contrast - going into the unknown, risking, experimenting. This is where intriguing discoveries are made, most often disguised as so-called mistakes. Judging an outcome as a mistake reveals that one has already set the parameters for the outcome of the effort. There is an expected result, and, barring achievement of that result, we judge the outcome a failure, a mistake.

Here I present my latest Eureka! Pretty? Not by any definition! Fabulous? Absolutely!
light shining through behind to show translucency of top

Here's how it came about. It was time for me to
experiment. I wanted to work with the ivory and add the feel of glass and get really rustic - the primitive ceramic/pottery/faience type rustic. My studio does not even remotely resemble those pictured in glossy magazines. I usually have to search around for a clear space that will hold my backside, so fat chance of finding a clear space to park a sheet of clay! (The Arctic Fox often suggests that he hang a large sheet of melamine/plywood from a pulley system bolted into the ceiling above my work surface. That way, when I run out of space, I can just winch a clean surface down onto the existing chaos and start fresh). He thinks he's witty!!!


I try to find a used piece of wax paper to place the sheet of bone/ivory clay down onto. I don't want to use deli wrap (silicon-too hard to find, or dry wax-leaches plasticizer) or plain paper (leaches also). I spot a piece and plunk the clay down. I make up the translucent, adding dry pigment, white acrylic paint, embossing powders-just a trace (white, black and pale turquoise) onto half the clay, roll out thinly, tear in half, place the relatively clean half on top, roll out thinly, then roll up roughly, leaving creases and overlapping edge, cut into sections about 1/4 the height I want the finished bead to be.


 I then pick up the bone/ivory sheet and notice something has stuck to my clay. It is thin, transparent, and brittle. I realize it is dried white glue. I use wax paper under items that I glue, and now I have dried glue on my clay. No problem. I know that PVA glue is very compatible with polymer clay (I bake it into the cores of thin bangles braced with paper). I'll just leave it. It will probably just disappear. I roll up the bone/ivory, shape it into the bead, affix the translucent on top, blend the two, distress with my favorite texturizing tools (another post another day) and bake. I decide this time to antique with black acrylic paint because I don't want oil paint staining into the surface of this bone/ivory (maybe my right brain knew something I didn't!).

without the red outlines

I wipe off the excess paint with a damp rag and notice distinct spots that have taken no paint at all, smooth in the midst of texture, outlined with strong detail! I love the look! It has to be the dried glue. It prevented the texture from affecting that area and being dried and brittle when attached, it "broke" when manipulated into shape. (I will play around with this and see where it takes me) Knowing that I've used acrylic paint for the antiquing, and that acrylic paint buffs to a beautiful high gloss, I use the buffer to make it gleam. It really fascinates me! I ask The Arctic Fox why I find this so much more intriguing and delightful than all the "pretty" pieces I make periodically. He responds, "Because you love the process!" He's absolutely right! Don't tell him - he's already too male!

Sometimes it's good to push through your "mistakes"!

Some more images below: